
A Beginner's Checklist for Photographing Historic Towers Without Damaging Them

There is a particular satisfaction in photographing a historic tower well. It is a subject that rewards patience: the stone changes character through the day, the proportions shift as you move closer or further away, and the surroundings — a lane, a roofline, a row of cypresses — do as much work as the tower itself. But towers are also old, often fragile, and frequently standing on ground that belongs to someone else. A photograph worth keeping begins with a little care for the place and the people around it. What follows is a practical sequence, from planning the trip to packing up, for anyone who wants good pictures without leaving a mark.
Check Access and Ground Rules First
Most towers are not isolated monuments. They sit in churchyards, on farms, inside walled towns, above village squares, or at the end of a private drive. Before you choose a lens, find out who looks after the site: the comune, a parish, a private owner, or a volunteer group. A short email or phone call is usually enough, and it often produces something better than permission — a tip about the best hour, a gate that is normally locked, or restoration work that has closed one side of the building. Custodians are also the people who know which corner of the churchyard gets the last of the evening light, and which path is closed after heavy rain.
Treat fences as instructions. If a gate is closed and unsigned, assume the ground beyond is private. Check public footpaths on a map before you go, especially where a path crosses farmland or runs along a wall. Opening hours matter too: many towers open only for occasional visits, and scaffolding can appear without warning. A tower that was clear on last year's photographs may be wearing a white wrap this spring, and no amount of walking around it will change that.
Think about the calendar as well as the clock. Sunday morning is rarely the moment to photograph a working church, and a wedding, a funeral or a local festival will close a square or fill it with people who did not come to be in your picture. If the site has a noticeboard, read it. If there is a small entry fee or a donation box, use it — you are photographing something that someone else is paying to keep standing.
Ground conditions deserve a mention. After rain, stone steps and grass slopes become slippery, and the light that makes wet stone look wonderful is the same light that makes a fall likely. Wear shoes with grip and keep your hands free when you are moving, not just when you are shooting. A camera bag over one shoulder and a tripod in the other hand is a poor combination on a wet path.
A note on permissions: access arrangements, liability and drone rules vary by place and by owner. Ask the managing body directly if you are unsure; the guidance here is general and not legal advice.
Pick a Viewpoint That Protects the Stone
The best view of a tower is rarely found by climbing something. Ruined walls, loose masonry, buttresses and old staircases are exactly the surfaces that give way. Keep your feet on solid, public ground, and if you need height, look for a terrace, a bridge, a hillside path, or an upper window that is already open to visitors. The extra twenty metres of elevation is seldom worth a displaced coping stone — or a sprained ankle an hour from the nearest pharmacy.
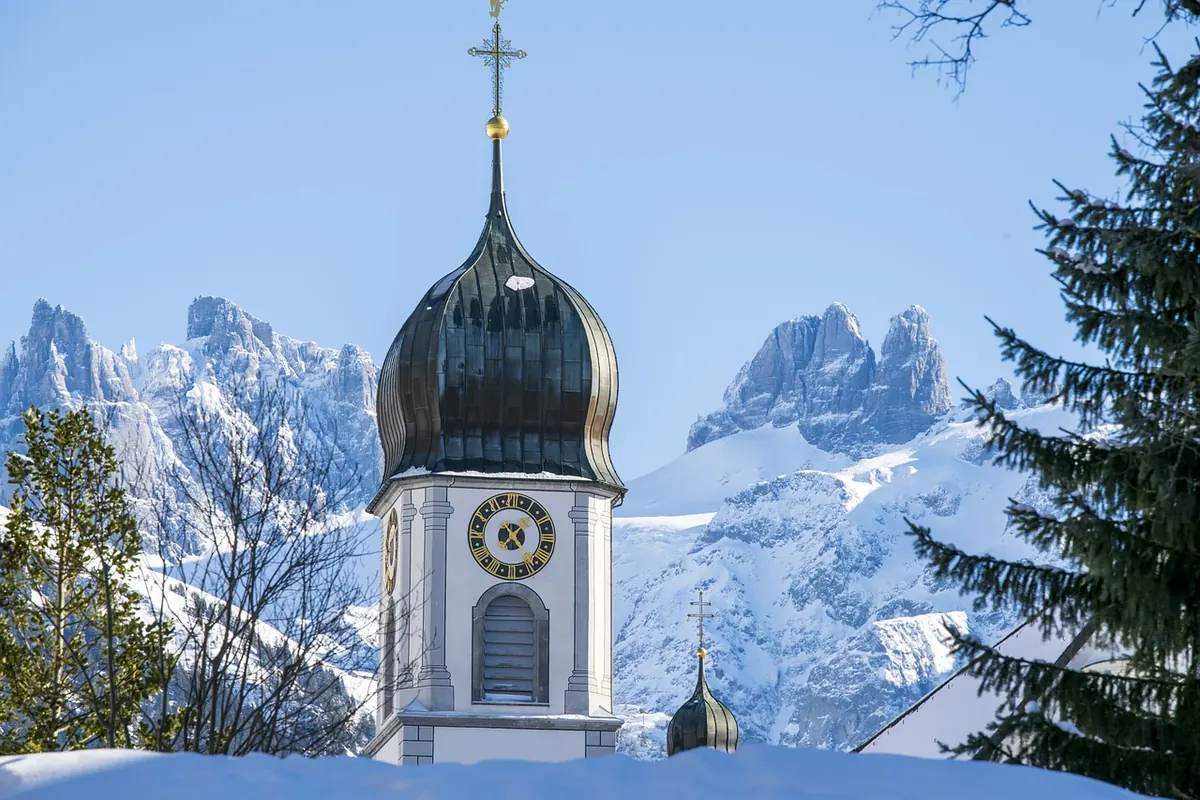
Distance is your friend. Stepping back across a square or a field does two things at once: it keeps you off fragile ground, and it reduces the converging verticals that make a tower look as if it is falling backwards. A 35mm or 50mm lens used from further away often produces a more honest record than a wide lens pressed against the base. If the tower is sixty metres tall, a clean shot from two hundred metres away will usually show its proportions better than a cramped frame taken from the foot of the wall.
Watch where you stand, and what you stand on. Do not set up in a narrow lane where traffic cannot pass, and do not block a gateway. If the only clear angle is on cultivated ground, flowerbeds, or a mown verge that is clearly maintained, find another angle. Tripod legs are surprisingly good at finding soft ground, newly planted borders and old grave markers, so look down before you spread them.
Use the Light the Building Was Built For
Stone has texture, and texture needs side light. Early morning and late afternoon, when the sun is low and raking across the facade, will show the tool marks, the joints, the repairs and the weathered courses far better than midday sun, which flattens a tall wall into a dark slab with a bright top.
Overcast days are not wasted days. Even, soft light is excellent for inscriptions, doorways, carvings and detail work, and it removes the deep shadows that can swallow a belfry. Light rain can be good too: wet stone darkens and gains colour. Just be careful on steps and polished paving.
Wind matters more than people expect. A tripod on an exposed terrace can vibrate in gusts. Shield the camera with your body, raise the ISO for a shorter exposure, or come back another day rather than fighting the conditions.
It is worth planning around which way the tower faces. A west front is at its best in the afternoon or at the blue hour, when floodlighting and the last of the daylight balance against each other; an east end belongs to the morning. A sun-position app, or simply a map and a compass, will save you a wasted journey and a great deal of squinting into a bright sky.
Compose for the Tower, Not Just the Sky
Decide what the photograph is about. A wide frame that shows the tower in its town, with rooftops, a lane and a market square, tells a different story from a tight frame of the belfry and its bells.
The three-frame habit
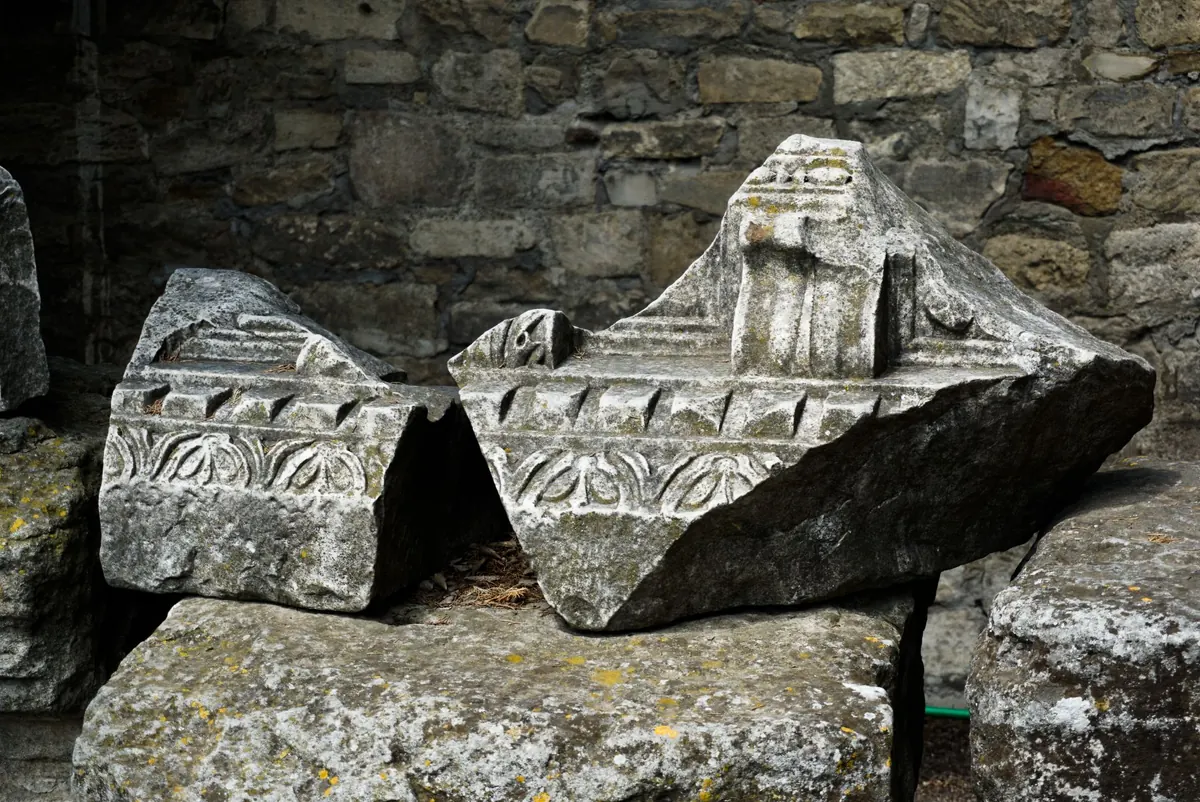
Try at least three pictures before you move on: a contextual wide shot, a medium view that shows the whole tower with a little breathing room, and a detail of a doorway, a clock, a plaque, or a patch of masonry. The third frame is often the one that ends up being useful.
Keep the verticals honest
Stand square to the building, hold the camera level, and step back rather than tilting up. If you must tilt, do it deliberately and correct it afterwards if you plan to print or publish. A slightly leaning tower can be charming; a tower that looks about to topple is usually a mistake.
Leave the sky some room
A tower needs air above it. Cropping tight to the battlements makes the building feel cramped, and it removes the weather — the thin cloud, the first star, the haze — that gives the picture its mood. Check the edges of the frame for lamp posts, cables and stray signs before you press the shutter; a clean silhouette is worth a step to the left.
Look for lines that lead the eye: a wall, a path, a flight of steps, the edge of a roof. And include a sense of scale where you can. A person on a bench, a bicycle against a wall, a doorway with a figure in it — these tell the viewer how tall the tower really is in a way that no caption can. Just don't ask anyone to move for the sake of the picture.
Respect the People Who Use the Site
A churchyard is not a park, and a village square is someone's front room. If people are using the place — praying, tending a grave, eating lunch, walking a dog — give them space and keep your voice low. Ask before photographing anyone close enough to be recognisable, and accept a refusal gracefully. If a service is beginning, put the camera away and come back later; a church that was happy to see you at ten in the morning may be less so at eleven.
Know the Rules on Tripods, Drones and Flashes
Three pieces of kit deserve a question before they come out of the bag. Tripods can block a path, trip other visitors and are often forbidden indoors; a small clamp or a folded jacket under the camera will sometimes do the job instead. Flashes are usually unwelcome around paintings, textiles and services, and they seldom improve a photograph of something as large as a tower. Drones are their own category: rules vary enormously between countries and between sites, and many historic towers stand in restricted airspace or above ground where flying is simply not permitted. Ask the custodian first, and if there is any doubt, leave it in the car.
Pack Up Carefully and Leave No Trace
When you have your frames, do a slow circuit of where you stood. Lens caps, batteries and lens cloths go missing in grass. Move nothing — not a stone, not a potted plant, not a bench — and do not prop your bag against a wall that is crumbling anyway. If you notice damage that the custodian may not know about, loose masonry, a cracked step, a gate swinging on one hinge, mention it. It costs a sentence and it is the sort of thing that keeps these places open to photographers.
A Short Checklist Before You Press the Shutter
- Who manages the site? A name, an email or a note on the gate is enough to settle most questions.
- Is the ground public, solid and dry underfoot? If not, move.
- Which way does the tower face, and where is the sun? Plan for side light, not midday glare.
- Do you have three frames? Wide context, the whole tower, one telling detail.
- Is the camera level? Step back before you tilt up.
- Who else is here? Wait for the funeral, the service or the tour group to pass.
- What are you leaving behind? Nothing, ideally — and a donation in the box if there is one.
None of this is complicated, and most of it is simply good manners dressed up as technique. But it is the difference between a photograph you are pleased with and a photograph you can be proud of: the tower still standing as you found it, the ground still quiet, and the custodian still glad to see the next person with a camera.
Photo: TheDigitalArtist / Pixabay